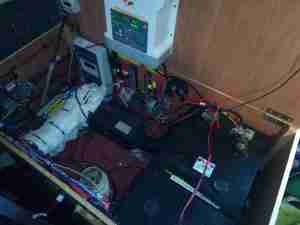
As part of the giant power bank that gets dragged to all my major camping trips & festivals, there is an old Eberspacher Diesel heater, a D1LCC from at first guess somewhere in the mid 90’s. At only 1.8kW heat output this is a little small for our current tent, and it struggles to keep the temperature comfortable at night, so with Chinese clones on the market these days much cheaper than the Eberspacher or Webasto units, a replacement was up! Still, the old Eberspacher is in working order, and will probably get used for some other project.
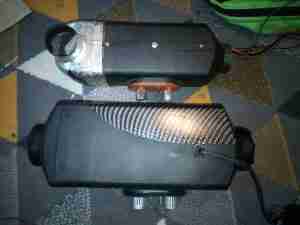
After removing the old D1LCC & placing it next to the new one, the size difference is obvious! The new heater is a Chinese clone of the Eberspacher D4 unit, allegedly uprated to 8kW. (In reality, it’s probably around 5kW heat output at full tilt). Luckily, it’s not that much larger than the old one, so it’ll go into the same space.
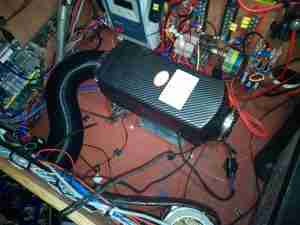
The port layout on the bottom of the heater is identical apart from intake port size, a quick attack of the baseplate with a grinder to remove the old hole pattern allowed the supplied mounting plate to fit correctly into place for the new heater. The duct size on this unit is also bigger than the old 60mm – 75mm duct is used on these large units. No modification to the vent hole was required, as the 75mm vent already fit perfectly. To clear the fittings on the top of the fuel tank, which is just underneath the hot air exhaust cowling of the heater, the mounting plate is fixed using 10mm nylon standoffs, this also helps get a bit more natural airflow around the base of the heater, as the mounting gets to 90°C in operation at full power!
These heaters don’t use the Eberspacher standard switch wire for control – there are only 3 pins in the loom to the controller, for 5v power & an odd UART which uses gated TX/RX to avoid having a separate line for each.
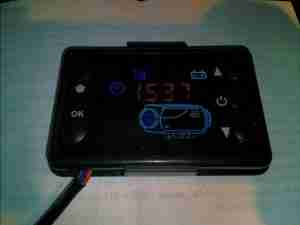
The stock controller has quite a nice looking LCD display, but it’s less than responsive & the backlight is always on at full tilt. It’s also much larger than the Eberspacher 701 controller so would require some rejigging of the control panel on the trolley. The built-in thermostat is also inaccurate, being almost 5°C high no matter what the room temperature. Ray Jones from Down Under has designed an open source ESP32 based controller for these heaters, and one of these is currently being built to control the unit. More to come on this bit!
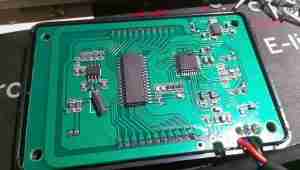
A quick teardown of the controller reveals pretty simple internals, there’s a microcontroller, probably an STM8 device by looking at the programming header, but the markings have been scrubbed off the IC. There’s a standard LCD controller IC, a RTC which isn’t battery backed, and a 433MHz receiver IC with PCB trace antenna.
I wasn’t able to get the remote control function working with any of the remotes I have, any attempt at pairing a remote didn’t give any response from the controller unit. I also tried a 315MHz remote, but that didn’t work either. Not an issue since I’m building a much better open source controller.
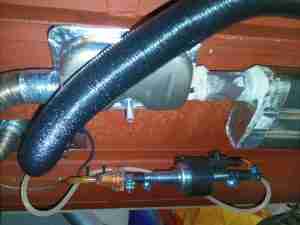
Under the base is the exhaust system & the fuel dosing pump. There’s a small filter in the feed line from the tank to keep crap out of the pump, and nylon fuel line then runs the fuel to the heater inlet. The exhaust is made as gas-tight as possible with foil tape & exhaust paste, to keep the exhaust fumes contained in the pipework until they’re vented outside. The rest of the exhaust after the right hand silencer is done in brazed 22mm copper pipe, and a piece of Eberspacher exhaust duct is removable from the final exhaust tail for storage. The black pipe is the combustion air intake, which is simply fed into a silencer cable tied to the trolley frame.
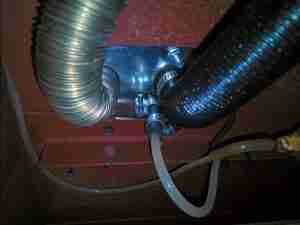
The 3 ports are visible under the mounting plate, the square hole cut out of the trolley base to accommodate everything.
