Posted on Leave a comment

ShowWX+ Pico Projector First Light

Projection
Projection

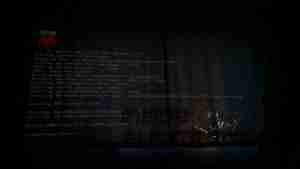
Above is the image projected from the Pi, on the default login screen. Distance from the projector is approx 10 feet.

Projector
Projector

State of the art projector mount, fashioned from several cable ties. HDMI cable is plugged into the right hand side of the projector.

Unfortunately the projector cannot handle audio on the HDMI connector, the 3.5mm headphone jack on the projector is for splitting audio out of the iDevice connection only, and does not make the HDMI audio stream available.


Pi
Pi

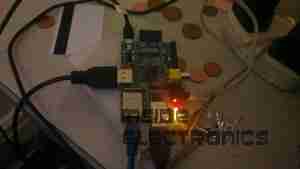
The Raspberry Pi, hosting a USB keyboard, & USB powered speakers. Running the standard Debian release, on a 16GB card, with omxplayer installed for media functions.

Posted on Leave a comment

The Perfect Companion To The Raspberry Pi

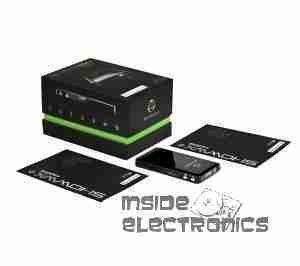
As I’m building a portable “media center” with my first Pi, I was looking for a suitable screen. I remembered the existence of these:

ShowWX+ HDMI Pico Projector

A laser pico projector combined with a Pi, in a small enough package would make a fantastic
little portable media player. So £220 was shelled out 🙂

Along with the case for my Pi coming from Mod My Pi, I am aiming for a device as small as possible. At some point I will fit the Pi into the same package as the projector, if it can be cannibalised in such a way 🙂

Check back for an update with running images of the projector, powered from the Pi’s HDMI output.

I will also be doing the standard teardown of the projector when time allows 🙂

Bootnote:
Micro HDMI Connections: These are CRAP. They don’t stand up to any form of day-to-day use, and the projector began displaying a blue screen with “INVALID VIDEO MODE” as soon as anything was plugged into the Micro HDMI port. A quick attack with a jeweller’s screwdriver fixed the port, as it had become loose.

Posted on Leave a comment

RasPi Terminal Customisations


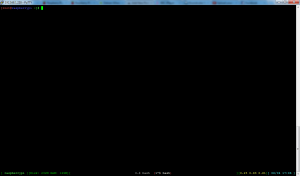
As seen in the previous post, the SSH terminal of my Pi gives some useful stats. This is done using GNU Screen, with a custom config file.

This file is .screenrc in your user’s home folder. My personal code is posted below:


~/.screenrc
startup_message off
backtick 1 30 30 $HOME/bin/disk.sh
backtick 2 30 30 $HOME/bin/mem.sh
hardstatus alwayslastline
hardstatus string '%{gk}[ %{G}%H %{g}][Disk: %1` RAM: %2`M][%= %{wk}%?%-Lw%?%{=b kR}(%{W}%n*%f %t%?(%u)%?%{=b kR})%{= kw}%?%+Lw%?%?%= %{g}][%{Y}%l%{g}]%{=b C}[ %m/%d %c ]%{W}'
nonblock 1
defnonblock 1

I have uploaded the pair of scripts for the backticks, and they can be found here:

mem.sh
disk.sh

More to come once my new 16GB Class 10 SD Card arrives!